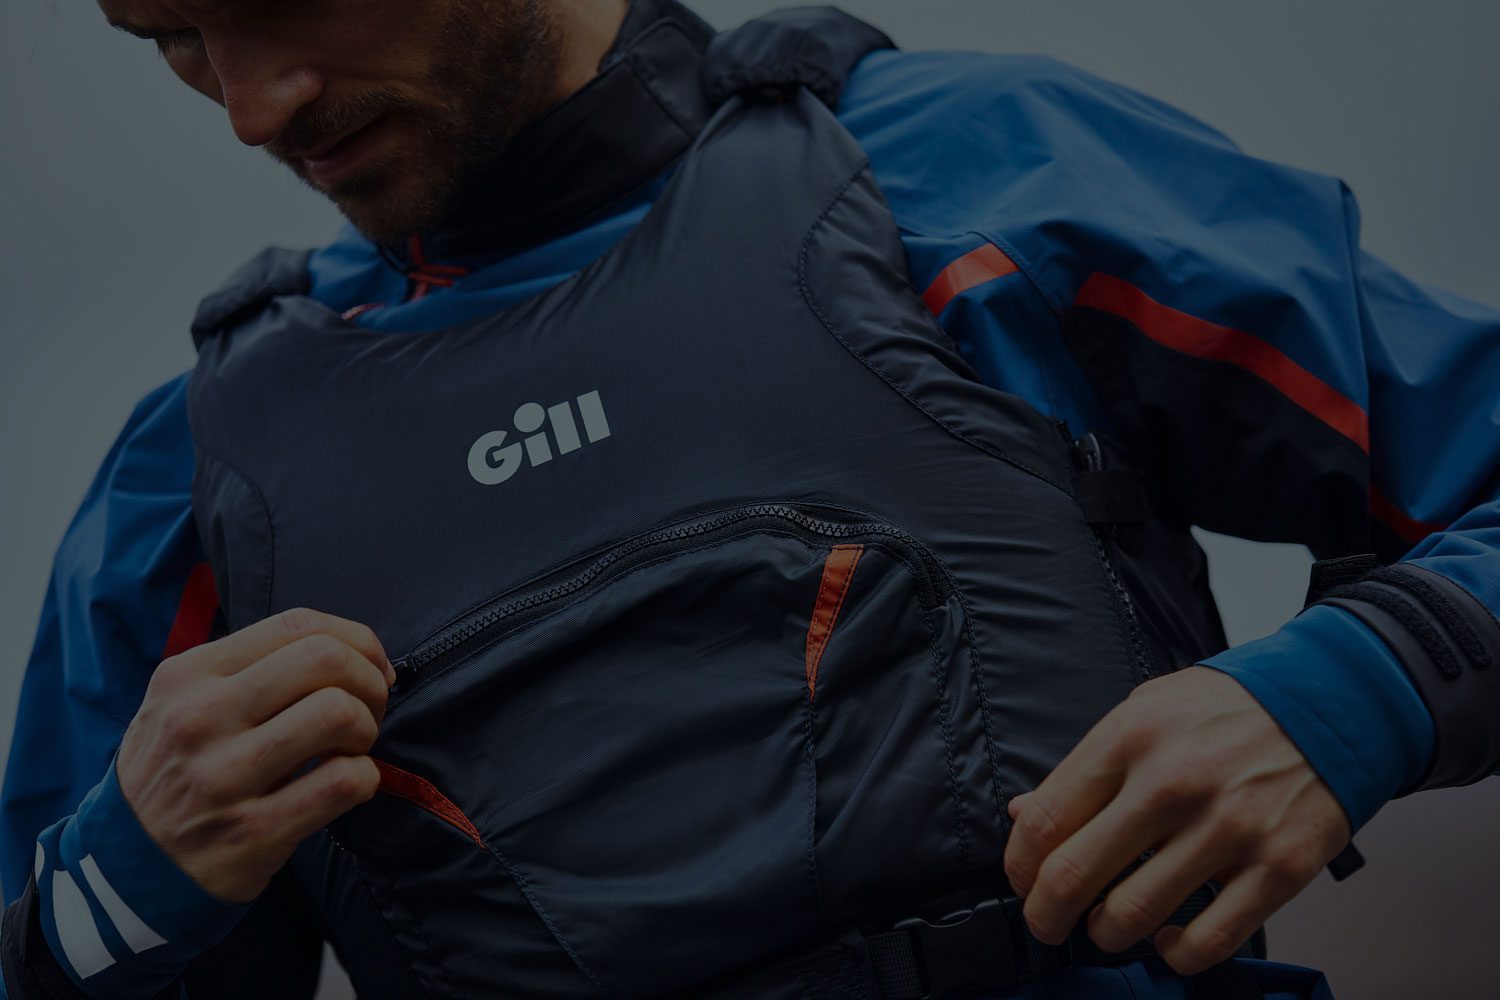
Getting out onto the water means fun, exercise and of course that connection with Mother Nature, but to make sure you can enjoy our time and keep coming back for more, you need the correct gear. Most importantly – a PFD. Aka buoyancy aid!
There to provide peace of mind when out on the water, you need to ensure that your buoyancy aid is working as it should be, you have looked after it correctly and always fit it properly before you begin your adventure.
What’s the difference between a buoyancy aid and a lifejacket?

Both buoyancy aids and lifejackets are designed to keep a wearer afloat in water, however feature subtle differences as described below.
Buoyancy aids are more to assist in someone in keeping afloat until they can swim to safety or while assistance arrives. They are generally more compact in design which makes them less bulky to wear and offers higher levels of movement and agility, especially when you are more likely to end up in the water! They are ideal to wear for dinghy sailing, windsurfing, kayaking or SUP.
Lifejackets are designed to rotate a person into a safe position once they fall into the water. They are bulkier in style so are more suited to an open powerboat or rib where you may not expect to go in the water.
Before you put it on: How to check your buoyancy aid is up to scratch

Carrying out some ‘MOT’ on your buoyancy aid is a good way to ensure all its components are as they should be, ensuring you have the very best protection and keeping you as safe as possible.
Firstly, inspect your buoyancy aid to check there are no rips in the main body fabric, and then feel around the edges of the inner foam to ensure that no pieces have broken and ensure that the fabric webbing is not frayed or damaged.
Try all of the zips to ensure that they are working as they should be. If they stick, that’s not good, so look for a way to fix this or find a replacement. Finally, ensure that clips are free of dirt and are not broken.
Fitting your buoyancy aid

Before you put on your buoyancy aid, check the label or product information to make sure you have one that supports your weight and has the correct level of buoyancy for the activity you require it for.
Fitting your buoyancy aid properly is a must and a relatively straightforward process. Start by loosening all straps, unzipping all zips and undoing all buckles. Then place it on your body and tighten the straps, working your way upwards from your waist and tucking in excess strapping if needed. Remember to tighten the shoulder straps so they feel comfortable!
Once you have your buoyancy aid on, there are some important wearability tests that should be conducted. Firstly, have a quick check to see that the buoyancy aid does not ride up or move around too much. You can try sitting down, like you would in a kayak or canoe to check that it feels comfortable.
Then ask yourself some questions: Is your buoyancy aid easy to put on and take off? Can you move your arms freely when wearing it? Does it let you bend at the waist? Does it keep your head above water? Can you swim and manoeuvre easily in the water?
These are all vital checks to complete to ensure optimal wearability and freedom when out on the water. If any of these factors are not quite right, consider opting for another buoyancy aid that fits you that little bit better.
Keeping your buoyancy aid clean

After a day out on the water, it’s important to clean your buoyancy aid in order to keep it looking and working as it should. When you are onto dry land, always rinse your buoyancy aid in clean water, then hang it up to dry naturally. Once dry store it in a cool, dry place out of direct sunlight and do not bend or leave heavy objects on it.
Don’t be tempted to wash your buoyancy aid with detergent, chuck it in a washing machine or dry in a tumble dryer or on a radiator! These methods could cause damage.
If you’re not sure – always consult the buoyancy aid care instructions!


